UI/UX design enhances user satisfaction, drives engagement, and boosts conversionrates by creating intuitive, visually appealing, and seamless digital experiences that meet both user needs and business goals.
Responsive, high-performance websites that are both functional and visually appealing, ensuring seamless user experiences and scalable solutions tailored to your business needs.
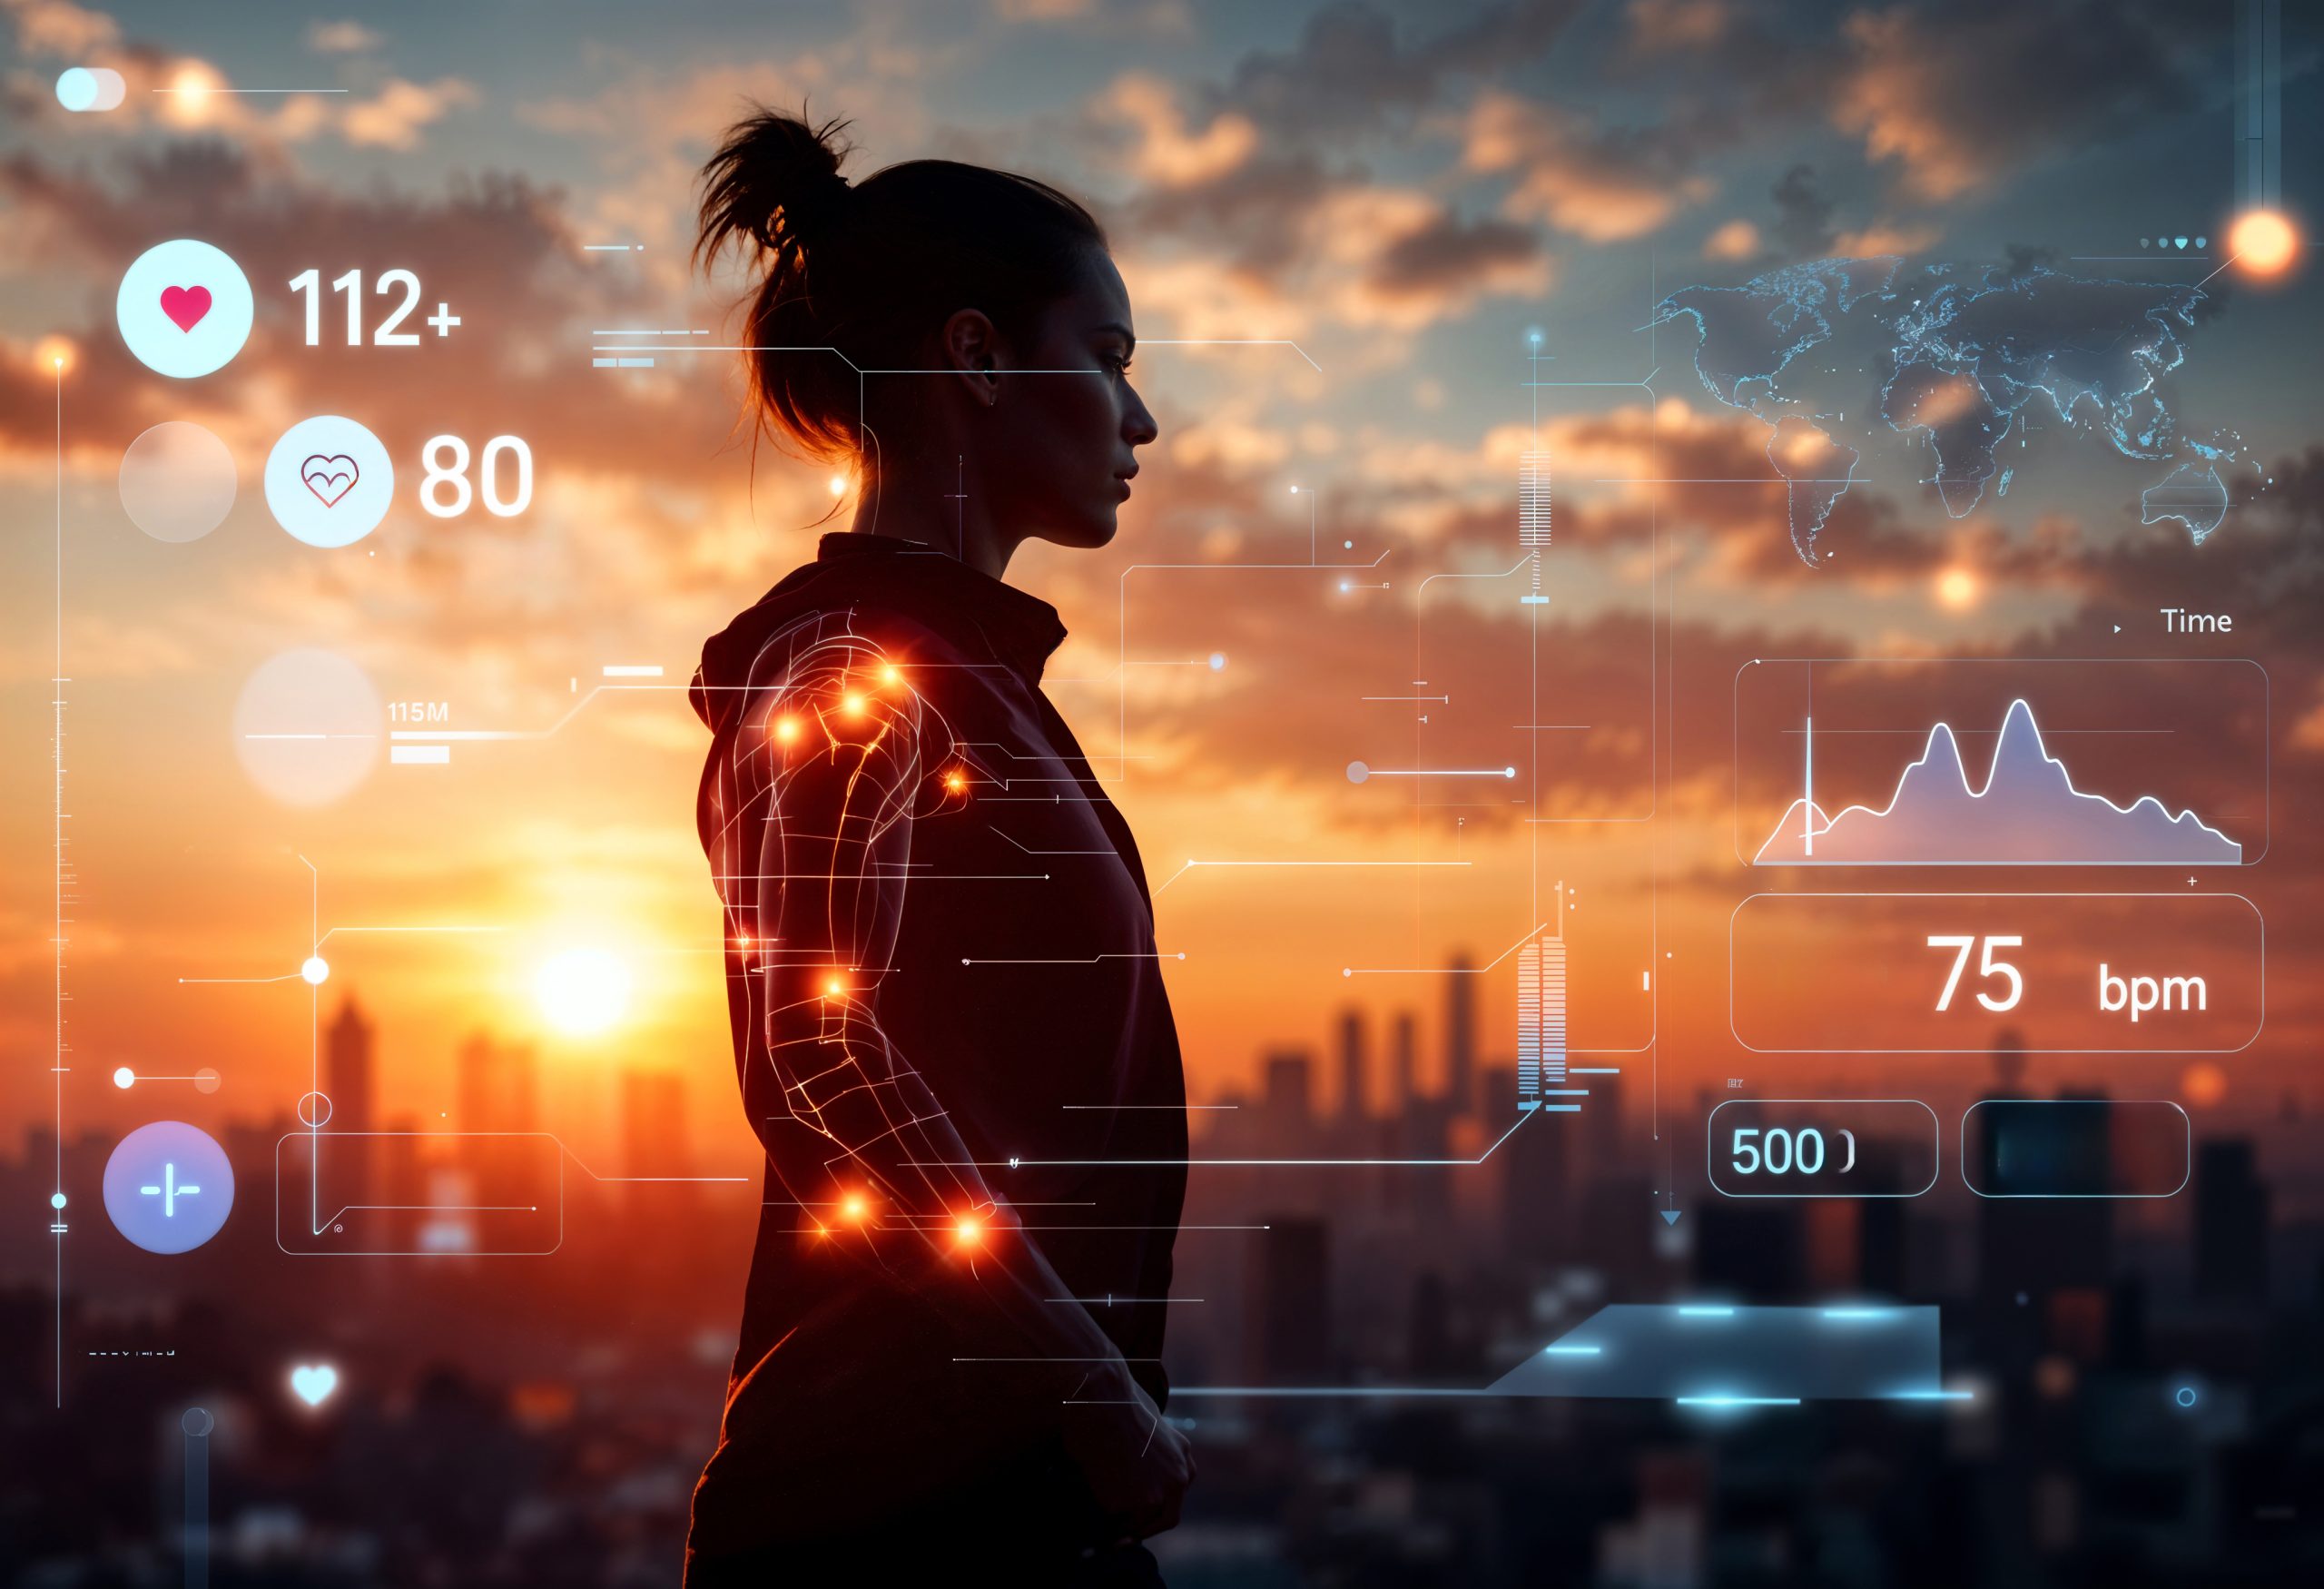
The power of artificial intelligence is used to deliver innovative solutions that automate processes, enhance decision-making, and optimize user experiences, driving efficiency and business growth.